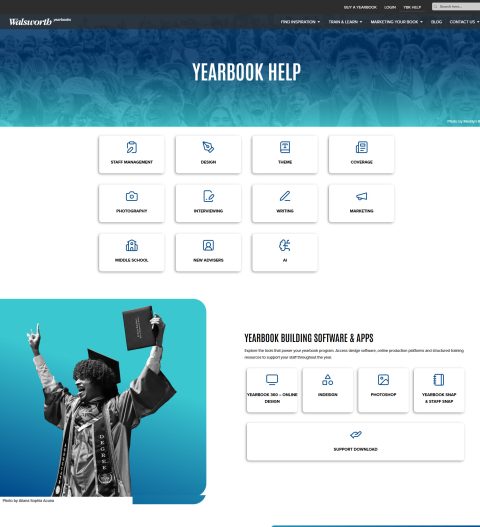
Photographers and staffers should understand how to use the four basic types of photographs that appear in yearbooks.
Impact
Photographs continue to occupy from 60-70 percent of the space on most spreads of an average yearbook; that is too large of a percentage of space not to consider very critically.
Candids
The backbone of your yearbook should be unposed, candid photographs. They help tell the real stories of the year better than any posed photograph could ever do. Candids capture those story-telling moments that, along with features, help tell the complete story of an event.
Candids are aptly named because they capture a candid moment. Photographers do not interfere with the action and tell their subjects to stop and look at the camera; photographers do not bring attention to themselves by having their subjects even purposely look at the camera at all.
To secure candid photographs for the yearbook, photographers must: be patient; know their shooting assignment; realize their shooting skills and limitations; and clearly understand the importance of capturing candid moments for their yearbook. Having to wait until the right storytelling moment occurs does take patience but it pays off when the moment happens and it’s captured on film. By understanding the event and where possible action may occur, a photographer increases his or her chances of getting effective images; by understanding what skills he or she brings to a shooting assignment, a photographer can better use light, lenses and angles to his or her advantage.
Group Photographs
Group and team photographs certainly have a place in yearbook journalism. Showing who participated in what group or on what team certainly helps date the year. Although they are relatively small in most yearbooks, they serve a needed purpose of showing clearly identifiable faces of those group members. Along with their group identifications, group photographs give readers an overall view of the participants in a club, team or organization. This broadens coverage, in fact, because it would be almost impossible to cover all individuals of large groups in related features or candid photographs. Although a small face in a small group photograph can not do every active club participant justice, it certainly goes a long way to give every participant some type of recognition.
When organizing groups and taking their photographs, student photographers should: keep individuals in even rows; make sure all faces are visible to the camera’s lens; have all rows more horizontal than vertical in shape; and check to make sure all eyes are open when taking the photograph. Keeping participants in rows makes for easy identification; making sure all faces are clearly visible will eliminate the need to reshoot the photograph; setting up horizontal rows usually makes for more effective spread designs; and shooting four or five photos per group will give you the chance to capture at least one usable one where all, or at least a majority, of eyes are open.
If outside professional photographers are hired to take group and team photographs for the yearbook, be sure to: attend the shooting so you plan how you want the group to be set up; have either the photographer or an assistant get all names at the time the group portrait is taken; and not allow the photographer to use props that take away from the faces of the participants. Since you should control the composition of the group photograph, you need to give professional photographers explicit directions. That is not being presumptuous; it is your yearbook and you need to have some control on the types of photographs you want in the book. Using props, such as tennis racquets, volleyball nets or club banners, simply clutter the composition of a photograph and distract from the important participant faces.
Portraits
Those ever-popular portraits, affectionately called mug shots by many scholastic yearbook journalists, remain important visual elements in most yearbooks because they picture the individuals who make up the school’s collective student body. They capture what the individuals look like that particular year; they help readers put faces with names as they look back on a particular year many decades later.
Portraits do not need to be large to be effective although most staffs still prefer running their senior portraits larger than their underclass portraits. That is certainly a carryover from earlier times when yearbooks were considered ‘senior books’ instead of history books for one given year in the life of the school. Some staffs even run the senior portraits in four-color while still printing the underclass section in black and white. No specific preferences or rules can be given on these areas; staffs simply need to decide how they wish to handle these two areas.
When it comes to size of portraits, however, general guidelines exist. Senior portraits do not need to be larger than 8 x 10 picas to clearly show faces; underclass portraits needn’t be larger than 5 x 7 picas. Notice these dimensions are proportional to current standard size enlargements we get back from photo labs. Since people are used to seeing these shapes for photographs, it makes sense that staffs use these dimensions when designing portrait panels. Note that rectangular panels are still in vogue; avoid creating odd shapes, especially letters or triangles, with your panels.
Whenever possible, try to have similar backgrounds on your portraits. Although many schools no longer are allowed to force students to go to one particular portrait photographer, it is highly recommended that you send local studios suggestions on backgrounds so you do not end up with such a variety of portrait backgrounds that each spread becomes a collage of colors or shades that no one notices the individual faces anymore.
Illustration/Studio-type Photographs
Photographs that illustrate are typically called studio photos or photo illustrations. They are not candids; they are, indeed, posed or staged photos that help illustrate a point, feature or situation. Staffs do not try to pass them off as candids; they often illustrate fashion statements of the year, ‘hot’ cars students drive or newly-created haircuts or earring placements. Professional magazines and newspapers use them extensively but yearbook staffs should be warned about overusing them. They do tend to draw attention to themselves instead of to the event or situation; they do tend to look too staged, posed and, oftentimes, tacky. Consider using them in mini-mags or feature section, perhaps, or in any type of special coverage area. Too many of these used throughout any one yearbook will help destroy the candid coverage of that year.
Overall Suggestions
Having a better understanding of the purposes of all photographs in a yearbook makes for a more photojournalistic approach to using all four types; having a better understanding of photography in general can make all staffers aware of the visual importance photographs bring to a yearbook.
Continue to let candids dominant the visual coverage; continue to use portrait and group photographs small and effectively; and continue to consider using studio or illustrative photos to visual illustrate areas of importance to student life at your school on a limited basis.